Practical Shooting is a lot of fun. You get to run around, shooting at targets, while competing to see who can be both fast and accurate. There is a place in the sport for all skill levels and it makes for an enjoyable day on the range.
One of the nice things about USPSA is that stages aren’t typically recycled throughout the year (with the exception of classifiers, of course). This means that every match will present shooters with a new set of challenges.
In addition to shooting, I enjoy designing USPSA Stages. In the roughly two and a half seasons that I’ve been designing stages, I’ve had about twenty of them used in various matches. My stages seem to go over well with shooters and I seem to have developed a reputation for creating challenging stages.
Every now and again I’ll have a shooter come up to me and ask how I came up with a given stage. The response is generally the same, I just come up with a central idea then build around it.
I thought it might be fun to show the process for a stage I designed last month. It was used at the April 2014 Ontelaunee USPSA Match.
Central Idea
When I start designing a stage, I like to come up with a central array or shooting position. This gives me a starting point that I can then build around. In this particular stage I wanted to use a Balance Beam.
The premise was simple, we drop a 2×4 onto the ground and use it to connect two free fire zones. Shooters would have to be standing on the balance beam to engage a series of targets.
This setup seemed fun but I didn’t want shooters hopping on, taking a few quick shots, then hopping off and running to the next position. How much fun would that be? No, the trick here was to force shooters to adjust their footing to engage multiple small target arrays.
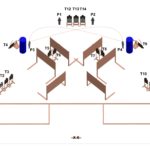
Rough Draft
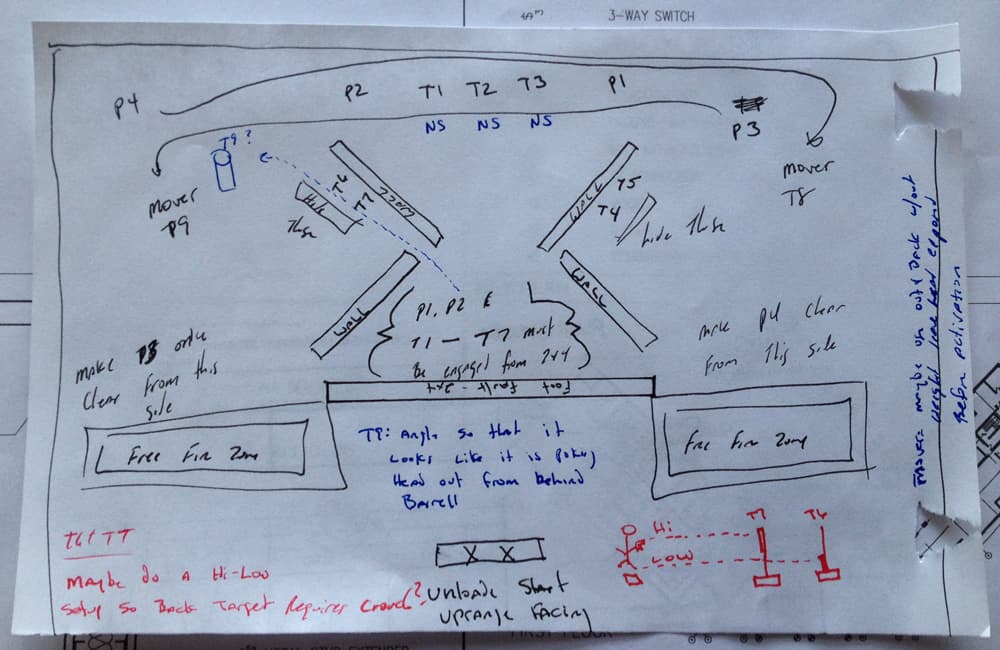
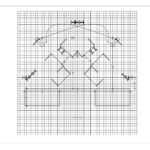
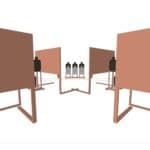
Normally when I begin designing a stage, I jump right into AutoCAD and begin placing props. This allows me to be accurate and see any potential problems early. In this case, the idea struck me at work and I had to rely on a crude sketch to get me started.
Once I had my sketch roughed out, I posted it to the WaltInPA Facebook Page to get a little feedback. I must have grabbed Joe Roberts’ attention because he whipped up a quick rough draft and re-posted.
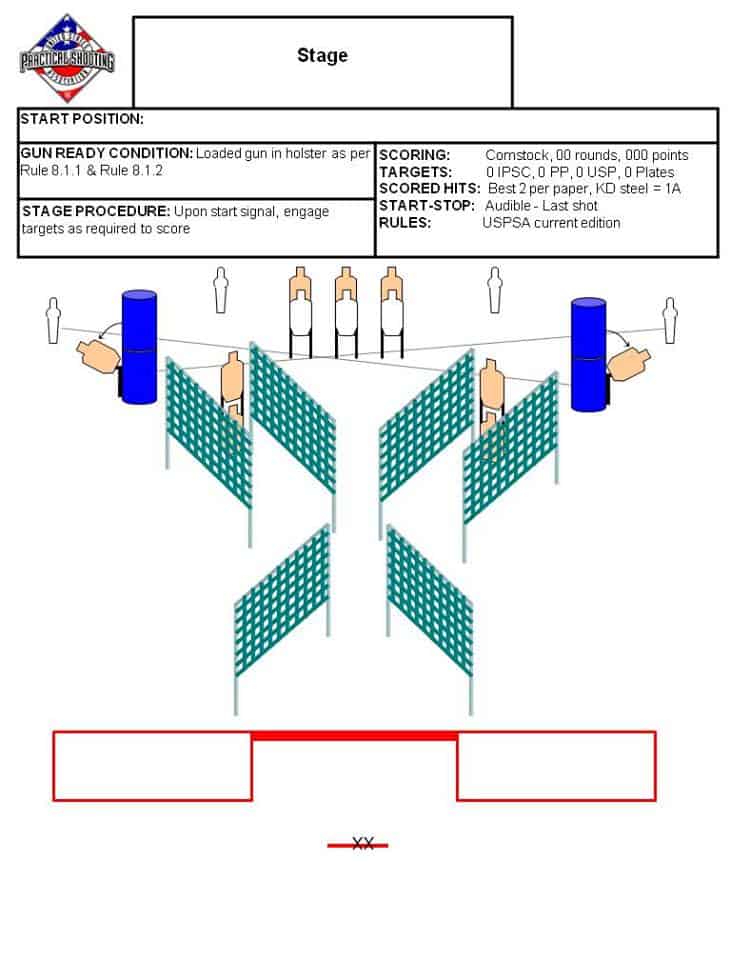
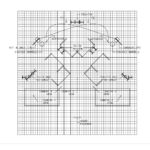
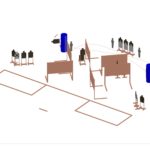
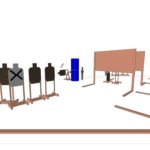
After a little discussion with Joe on how to make this stage work at Ontelaunee, I merged the two sketches together and began my final layout.
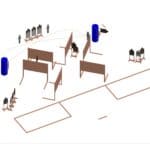
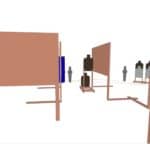
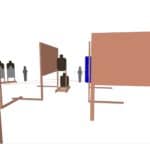
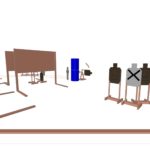
Finished Design
Execution
Under normal circumstances, any stage that I design I also take charge in setting up. Unfortunately, due to my wife’s schedule I was unable to get a babysitter so that I could run out to Ontelaunee on the day before the match and help with setup.
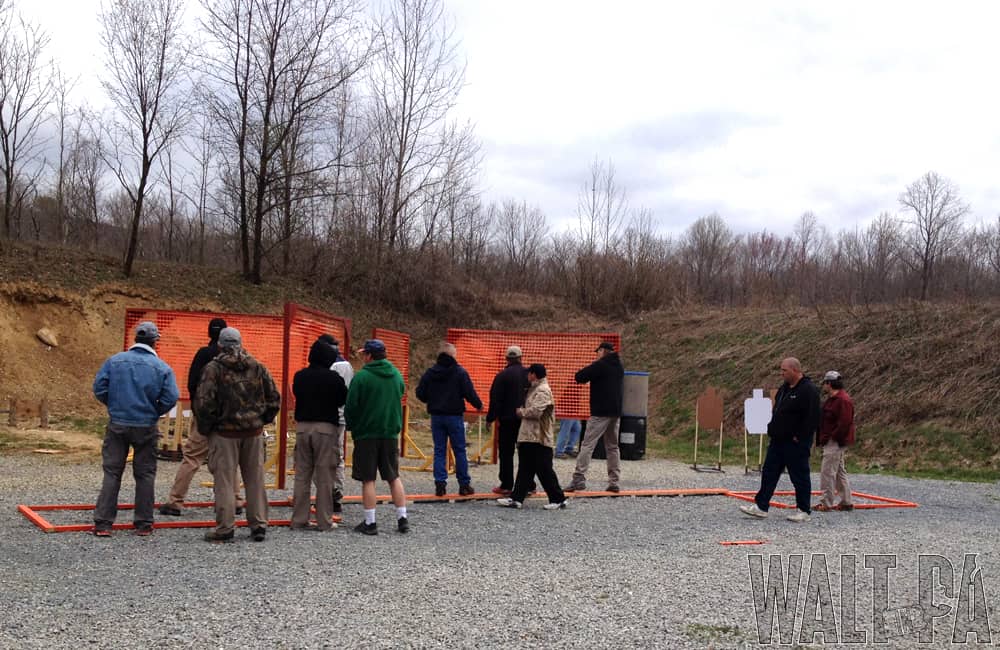
Joe and the crew at Ontelaunee took it upon themselves to setup my stage. As expected, they ran into a few issues (no matter how well you prepare, something ultimately comes up when you begin putting the stage on the ground) and adjustments needed to be made.
In this case, I think the stage turned out better as a result of the setup tweaks. Some target positions were changed slightly and Joe wound up using an elevated 2×6 as the balance beam (being elevated, the 2×6 twisted under the shooters’ feet and made the shooting position even better than I imagined). The start position was also changed for safety (we wound up going to a loaded start).
Shooting The Stage
I’m partial to this stage but I think it turned out great. I was given lots of positive feedback and I couldn’t help but smile at the number of people that were doing repeat walkthroughs during registration.
Recent Posts
Finding Joy in Unexpected Places: A Memorable Motorcycle Ride to Remember
As we roll into 2025, I've been reflecting on the rides that made 2024 special. While the year didn't provide as many opportunities to hit the road as I'd hoped, one particular adventure stands out...
After months of silence on the YouTube channel, it's finally time to fire up the MT-09 and get back to what we love - creating motorcycle content and building our riding community. But before we dive...
