Like most families, my wife and I are feeling the pressures of the current economy. Things like groceries, which we’ve never put a whole lot of thought into, are getting more expensive. When we decided to start living a healthier lifestyle, we were a bit surprised at how much fresh vegetables cost as opposed to pre-packaged meals (salads and such).
In an effort to invest a little up front to save money and eat healthier over the long term, we decided that we were going to start growing our own vegetables. In addition to the health benefits of this new hobby of ours, it would be one more thing that we could do as a family.
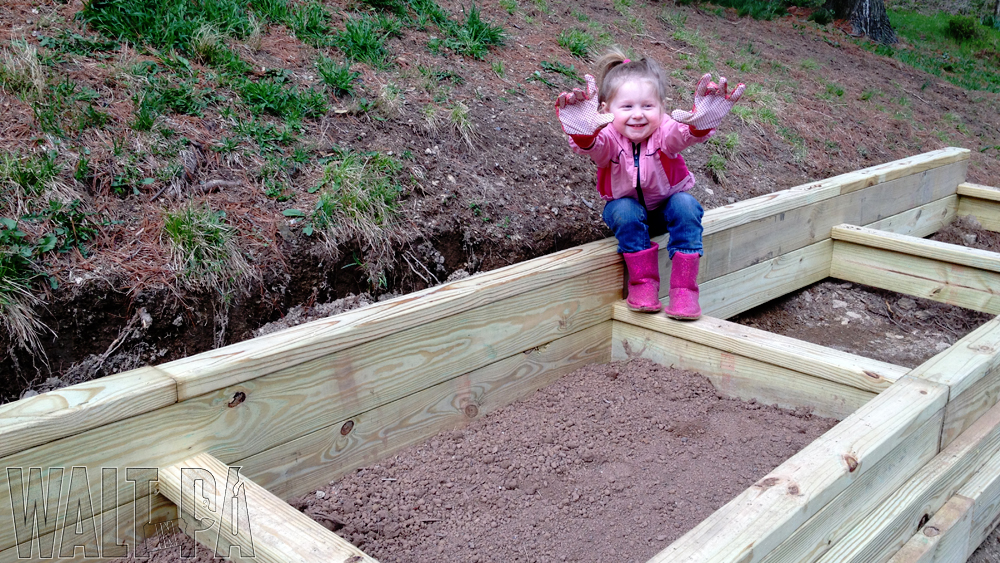
The decision was made and we set out to construct a couple of raised bed planter boxes. The idea was to try to maximize our limited space by adopting the square foot gardening method. On the surface it all seemed so simple. We quickly learned that our situation would require a lot of work upfront. Confident that it would pay off in the end, we got down to business.
Selecting a Location
The Square Foot Gardening method is very simple. The idea is to create a raised bed planter box then fill that planter with a nutrient rich soil blend. By doing this, the would-be gardener doesn’t have to worry about the condition of their current soil. In most cases the raised bed planter is placed directly on top of the ground.
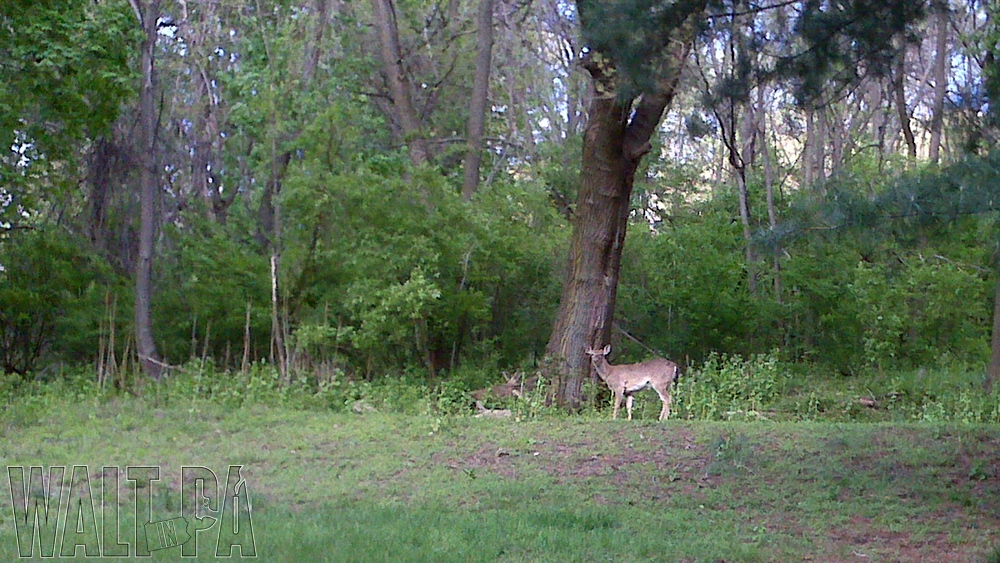
Our situation complicated things slightly. While we have a decent sized lot (3/4 acre), our house is cut into a rather large hill. The flat sections of land that we have, which are close to the house, we already use. If we were to use a space in our very hilly backyard, deer and other animals would surely eat anything we plant. If we were to use our front yard, the garden would be too far away from the house to be practical.
This meant cutting into one of the hilly sections around our house and inserting a raised bed planter. Sun exposure wouldn’t be ideal, due to trees, but a stretch of hill near our porch seemed like the best place for our garden.
Digging the Trench
Square Foot Gardening is typically done with a raised bed planter that is 4 feet by 4 feet. This is ideal because it allows the gardener to easily reach in from all four sides. Larger planter boxes can be used but the magic number for width is 4 feet.
Since we would be terracing into a hill, we would be limited to roughly two feet. This would allow us to comfortably reach the rear of the planter from the front. Since 2 feet seemed a bit too shallow, I opted to stretch it to 30 inches deep. I then planned to build a series of boxes that would span 24 feet long. Essentially, this gave us a planting area of 60 square feet.
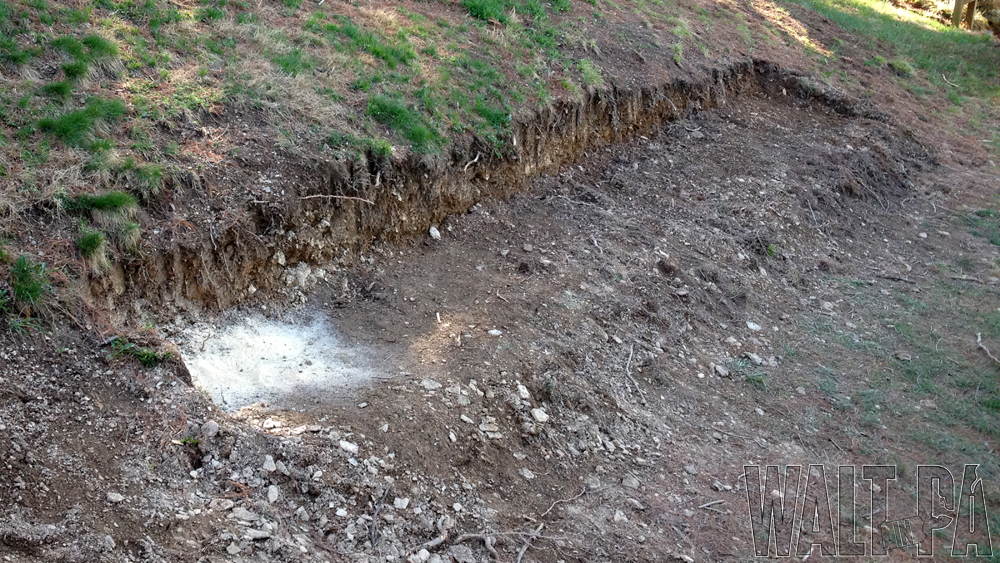
In order to fit the raised bed planter in this location, we would need to cut a trench that was about 18 inches deep in the back and 25 feet long (I added an extra foot so give us some room to work when installing the raised bed planters).
My wife and I spent a Saturday swinging a mattock to break up shale and shoveling out sand, clay, and dirt. By the end of the day we were exhausted but our trench was cut and ready for raised bed planters.
Building the Raised Bed Planters
There are two schools of thought when it comes to constructing a wooden raised bed planter. The first is to go all-natural and use an untreated wood. The other is to use a treated wood so that it will not rot away as quickly.
Some say that using treated wood is safe while others say that over time chemicals could leech into the soil. Because I didn’t have the money to put out on cedar or redwood, I opted to go the pressure treated route. I did this because much of my raised bed planter would be surrounded by dirt. I was afraid this would accelerate the rotting process and typical 2x lumber wouldn’t last more than a couple of years in the ground.
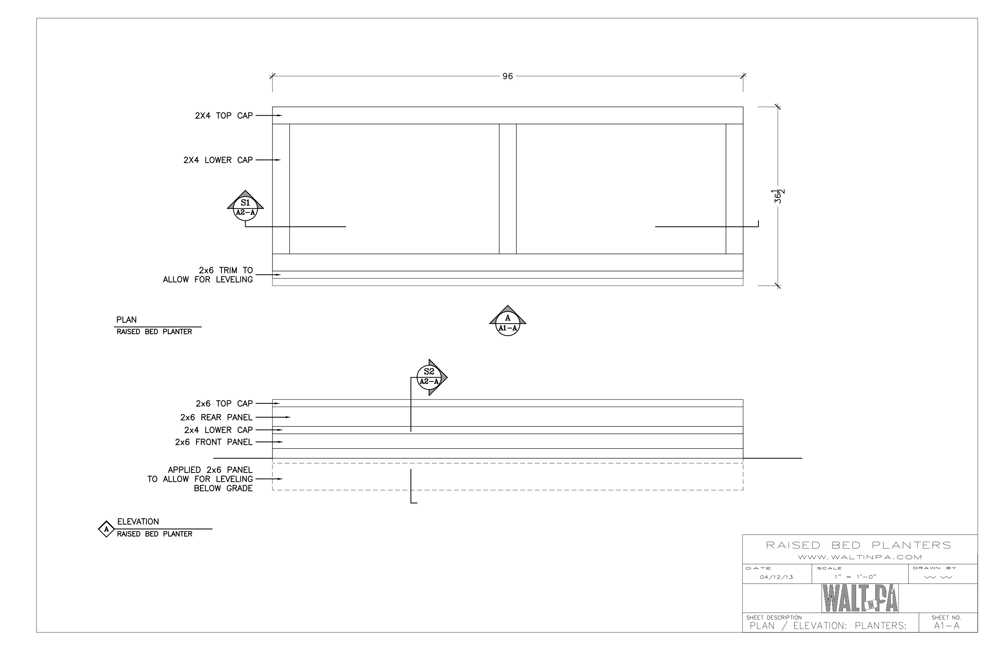
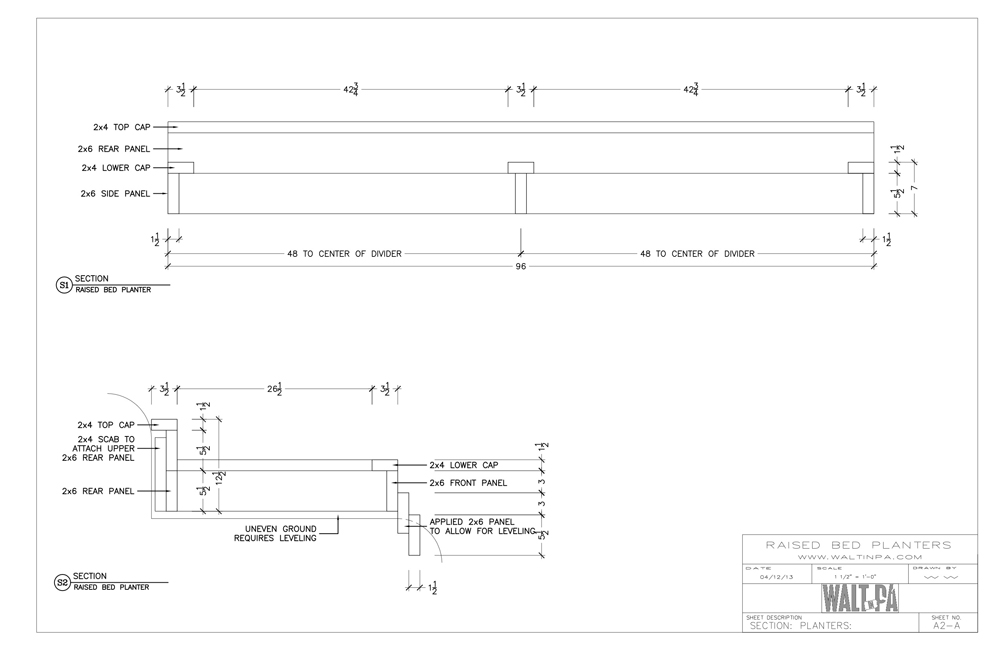
I borrowed my father in-law’s pickup and loaded it up with 2×4 and 2×6 pressure treated lumber. The plan was to create 3 sides of the box using a 2×6 and stacking them two-high in the back. I would then use the 2×4 material as cap so that we could comfortably sit or kneel on the raised bed planter.
After the boxes were in and level, I discovered that I didn’t account for the natural slope of the ground when digging the trench. Having dug the same depth all the way across, I had to raise one end and fill the empty space. I opted to add a couple more 2×6 pieces to the face of the planters, treating it like trim. This resolved my problem and gave the box a beefier appearance which I preferred.
Progressing into the Growing Season
Square Foot Gardening calls for a rich soil blend that is made up of 1/3 Compost, 1/3 Coarse Vermiculite, and 1/3 Peat Moss. Since I went with a fairly large raised bed planter, I got a serious case of sticker shock when I began pricing the material to fill our planters. The planned 30 cubic feet of bagged material was going to put the project out of our budget and we needed a cheaper solution.
We opted to get a bucket full of topsoil to create our base (it was leaps and bounds better than what we had in the ground). I spread it out equally between our raised bed planters then supplemented it with compost and peat moss. While I don’t really know what I’m looking at, the blend looks, feels, and smells great.
We currently have Lettuce, Onions, and Garlic planted. We are still in the process of planning what else to add when we are clear of any unexpected frosts. In the meantime I’ve been playing with GrowVeg.com to come up with a crop plan for the growing season.
Recent Posts
The Price of Rushing: A Winter Riding Story & Four Years of YouTube Friendship
You know those moments when you do something that isn't exactly catastrophically stupid, but just stupid enough to make you shake your head at yourself? Yeah, we've all been there, and today I'm...
Finding Joy in Unexpected Places: A Memorable Motorcycle Ride to Remember
As we roll into 2025, I've been reflecting on the rides that made 2024 special. While the year didn't provide as many opportunities to hit the road as I'd hoped, one particular adventure stands out...
